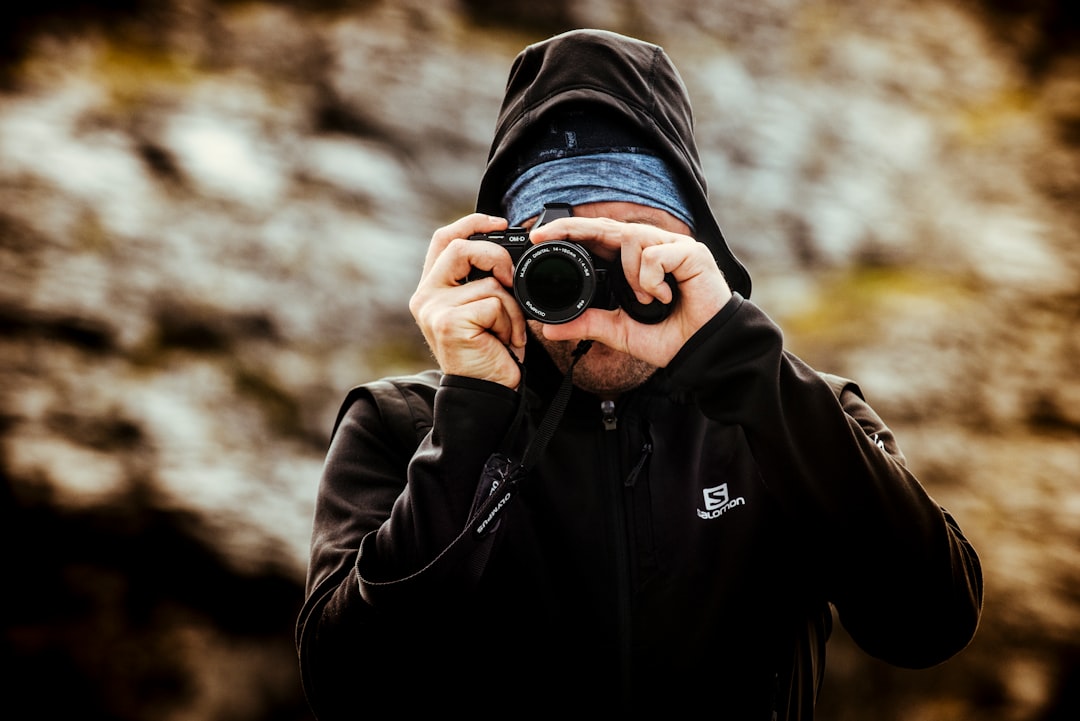
Photography is an art form that requires a deep understanding of the technical aspects of capturing an image. Three key elements that play a crucial role in photography are aperture, shutter speed, and ISO. Aperture refers to the opening in the lens through which light passes. It is measured in f-stops, with a lower f-stop indicating a larger aperture and a higher f-stop indicating a smaller aperture. The size of the aperture affects the depth of field in an image, determining how much of the scene is in focus. Shutter speed, on the other hand, refers to the amount of time the camera’s shutter remains open to allow light to reach the sensor. A fast shutter speed freezes motion, while a slow shutter speed creates motion blur. ISO, the third element, measures the sensitivity of the camera’s sensor to light. A lower ISO is less sensitive to light and produces finer grain, while a higher ISO is more sensitive to light but can result in more noise in the image.
Understanding how these three elements work together is essential for achieving the desired exposure and creative effect in photography. By mastering aperture, shutter speed, and ISO, photographers can control the amount of light entering the camera, freeze or blur motion, and adjust the sensitivity to light to capture stunning images in various lighting conditions.
Key Takeaways
- Aperture, shutter speed, and ISO are the three fundamental elements of exposure in photography.
- Choosing the right aperture can control the depth of field in your photos, creating either a sharp or blurred background.
- Mastering shutter speed allows you to freeze or blur motion in your images, adding a sense of dynamism or calmness.
- Utilizing ISO can help you capture clear and sharp images in low light situations without introducing too much noise.
- Understanding white balance and color temperature is crucial for accurately representing the colors in your photos.
Choosing the Right Aperture for Depth of Field
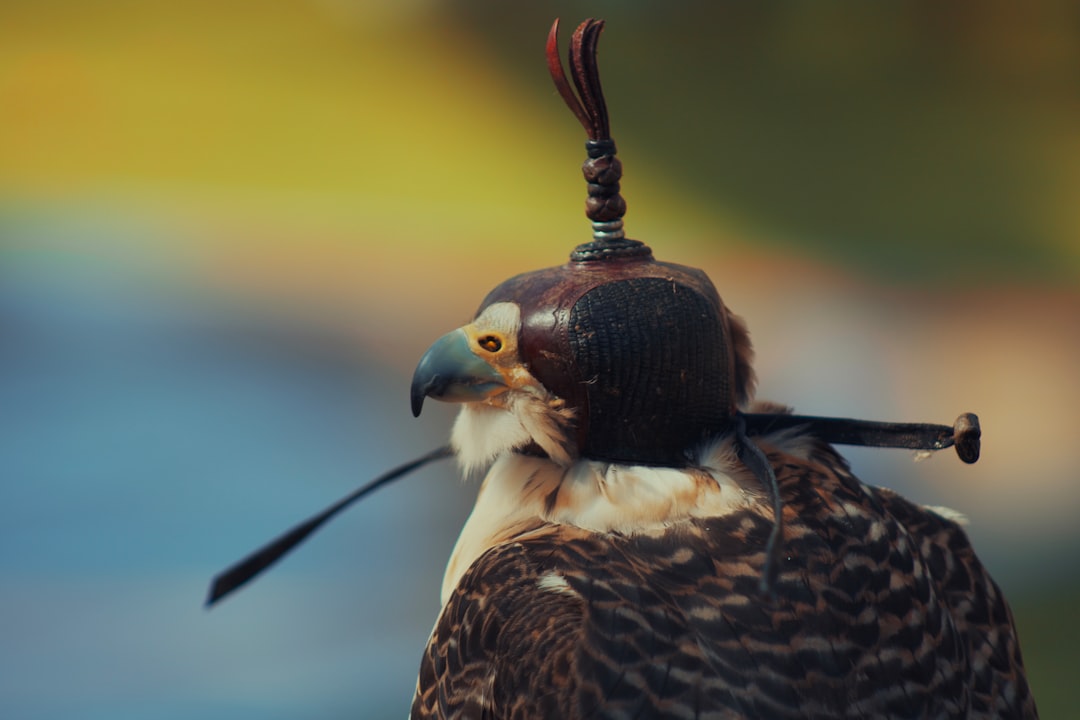
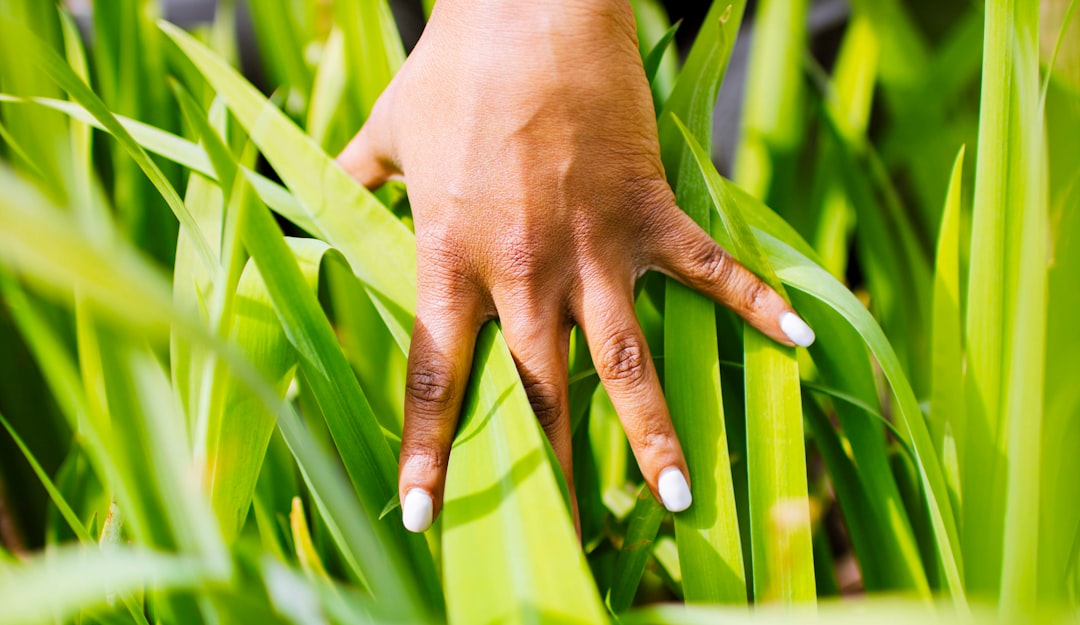
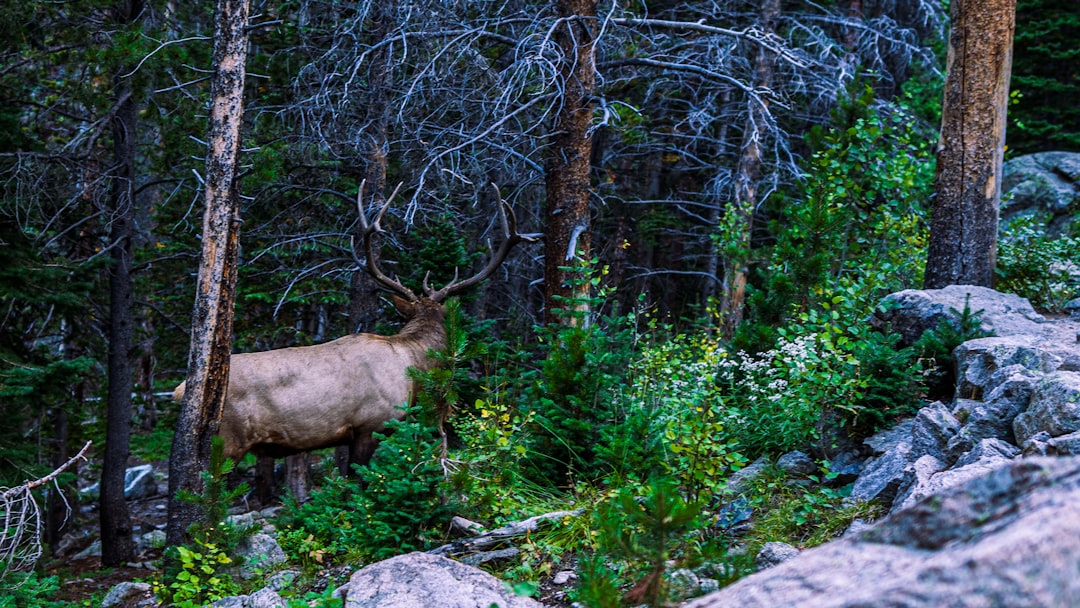
Aperture plays a crucial role in determining the depth of field in an image. A wide aperture (low f-stop) creates a shallow depth of field, resulting in a blurred background and a sharp subject. This is often used in portrait photography to isolate the subject from the background and create a pleasing bokeh effect. On the other hand, a narrow aperture (high f-stop) creates a deep depth of field, keeping both the foreground and background in focus. This is commonly used in landscape photography to capture sharp details throughout the scene.
When choosing the right aperture for a specific shot, photographers must consider the creative effect they want to achieve and the lighting conditions. In low light situations, using a wider aperture allows more light to enter the camera, making it easier to capture well-exposed images without increasing the ISO too much. However, in bright outdoor settings, a narrow aperture may be necessary to maintain a deep depth of field and ensure that all elements in the scene are in focus.
Mastering Shutter Speed for Motion Control
Shutter speed is a powerful tool for controlling motion in photography. A fast shutter speed freezes motion, allowing photographers to capture sharp images of moving subjects such as sports events or wildlife. On the other hand, a slow shutter speed creates motion blur, which can be used creatively to convey a sense of movement or capture long exposure shots of flowing water or city lights at night.
When choosing the right shutter speed for a specific shot, photographers must consider the speed of the subject and the desired creative effect. For fast-moving subjects, a shutter speed of 1/500 or higher is typically required to freeze motion. For long exposure shots, such as capturing star trails or light trails from moving vehicles, a shutter speed of several seconds or even minutes may be necessary to achieve the desired effect.
Mastering shutter speed also involves understanding the reciprocal rule, which states that the shutter speed should be set to the focal length of the lens or faster to avoid camera shake and ensure sharp images. For example, when using a 50mm lens, a shutter speed of 1/50 or faster is recommended to prevent blur caused by camera movement.
Utilizing ISO for Low Light Situations
| ISO Setting | Low Light Performance |
|---|---|
| ISO 100 | Poor performance in low light |
| ISO 400 | Improved performance in low light |
| ISO 800 | Good performance in low light |
| ISO 1600 | Very good performance in low light |
ISO measures the sensitivity of the camera’s sensor to light. In low light situations, increasing the ISO allows photographers to capture well-exposed images without having to rely solely on aperture and shutter speed adjustments. However, it’s important to note that higher ISO settings can introduce noise and reduce image quality, so it’s essential to find a balance between achieving proper exposure and maintaining image sharpness.
Modern digital cameras have made significant advancements in ISO performance, allowing photographers to push the limits of sensitivity while still producing relatively clean images at higher ISO settings. This has opened up new possibilities for low light photography, enabling photographers to capture stunning images in challenging lighting conditions.
When utilizing ISO for low light situations, photographers should start with the lowest ISO setting and gradually increase it as needed while monitoring the image quality. It’s important to find the highest ISO setting that still produces acceptable image quality for the specific shooting conditions. Additionally, noise reduction techniques can be applied in post-processing to minimize any noise that may be present in high ISO images.
White Balance and Color Temperature for Accurate Representation
White balance and color temperature play a crucial role in accurately representing colors in photography. White balance refers to the adjustment of colors in an image to ensure that white objects appear white under different lighting conditions. Color temperature, measured in Kelvin (K), indicates whether a light source appears warm (red/yellow) or cool (blue) in color.
Different light sources have varying color temperatures, which can affect the overall color cast in an image. For example, natural daylight has a color temperature of around 5500K, while incandescent light bulbs have a warmer color temperature of around 3200K. Understanding white balance and color temperature allows photographers to adjust their camera settings or use color correction tools in post-processing to achieve accurate and natural-looking colors in their images.
In addition to adjusting white balance settings based on the lighting conditions, photographers can also use creative white balance techniques to achieve specific color effects. For example, setting a cooler white balance for a warm sunset scene can enhance the golden tones in the sky, while using a warmer white balance for a snowy landscape can add a touch of warmth to the overall image.
Using Manual Mode for Full Control

Manual mode gives photographers full control over aperture, shutter speed, and ISO settings, allowing them to fine-tune their exposure and creative effects based on their artistic vision. While automatic modes can be convenient in certain situations, manual mode provides greater flexibility and precision when capturing images in challenging lighting conditions or when seeking specific creative effects.
By using manual mode, photographers can experiment with different combinations of aperture, shutter speed, and ISO to achieve the desired exposure and creative effect. This level of control is particularly beneficial when shooting in constantly changing lighting conditions or when capturing scenes with high contrast between light and shadow.
In addition to exposure control, manual mode also allows photographers to maintain consistent settings across multiple shots for better consistency when creating a series of images or when shooting in controlled studio environments. This level of precision and control empowers photographers to unleash their creativity and capture images that truly reflect their artistic vision.
Fine-tuning Focus and Composition for Sharp and Balanced Shots
Achieving sharp focus and balanced composition is essential for creating compelling and visually appealing images. In photography, focus refers to the clarity and sharpness of the subject within an image, while composition involves arranging elements within the frame to create a visually pleasing and balanced composition.
When fine-tuning focus, photographers can use various focusing techniques such as single-point autofocus, continuous autofocus for moving subjects, or manual focus for precise control over focus distance. Additionally, using focus peaking or magnification features available on some cameras can help ensure critical focus when capturing intricate details or shooting with shallow depth of field.
Composition plays a crucial role in guiding the viewer’s eye through an image and conveying a sense of balance and harmony. Techniques such as the rule of thirds, leading lines, symmetry, and framing can be used to create visually engaging compositions that draw viewers into the scene. By carefully considering elements such as foreground interest, background elements, and negative space within the frame, photographers can create images with strong visual impact and storytelling potential.
In conclusion, mastering the technical aspects of photography such as aperture, shutter speed, ISO, white balance, manual mode, focus, and composition empowers photographers to capture stunning images that reflect their artistic vision with precision and creativity. By understanding how these elements work together and practicing their application in various shooting scenarios, photographers can elevate their craft and produce images that resonate with viewers on an emotional and visual level.
If you’re interested in learning more about photography and how to capture stunning images, you might want to check out this article on Favorites Found. They offer tips and tricks for finding the perfect camera settings to achieve the zen-like state of capturing the perfect shot. Whether you’re a beginner or a seasoned pro, there’s always something new to learn when it comes to photography.
FAQs
What are the basic camera settings for zen photography?
The basic camera settings for zen photography include using a wide aperture to create a shallow depth of field, a slow shutter speed to capture movement and create a sense of calm, and a low ISO to reduce noise and maintain a peaceful atmosphere in the image.
How can I achieve a zen-like atmosphere in my photos through camera settings?
To achieve a zen-like atmosphere in your photos through camera settings, you can use a combination of soft lighting, a calm color palette, and minimalistic composition. Additionally, using a wide aperture, slow shutter speed, and low ISO can help create a sense of tranquility and serenity in your images.
What camera settings should I use to capture the beauty of nature in a zen-like way?
To capture the beauty of nature in a zen-like way, you can use a wide aperture to create a shallow depth of field and focus on a specific element in the natural landscape. Additionally, using a slow shutter speed can capture the movement of water or leaves in a calming and serene manner, while a low ISO can maintain the natural colors and textures of the environment.
How can I use camera settings to convey a sense of mindfulness and presence in my photos?
To convey a sense of mindfulness and presence in your photos through camera settings, you can use a combination of techniques such as using a wide aperture to create a shallow depth of field and focus on a specific subject, a slow shutter speed to capture movement in a deliberate and intentional way, and a low ISO to maintain a sense of clarity and calmness in the image.